English
English
Appearance
When starting Blender, the splash screen appears in the center of the window. It contains options to create new projects or open recently opened blend-files.
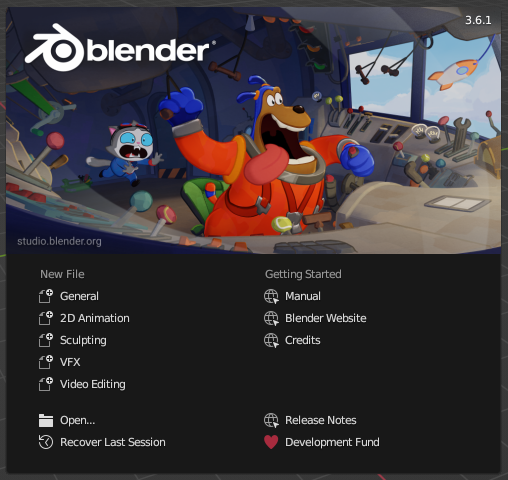
To close the splash screen and start a new project, click anywhere outside the splash screen (but inside the Blender window) or press Esc. The splash screen will disappear revealing the default screen. To reopen the splash screen click on the Blender icon in the Topbar and select Splash Screen.
After starting Blender and closing the Splash Screen the Blender window should look something similar to the image below; as Blender’s user interface is consistent across all platforms.
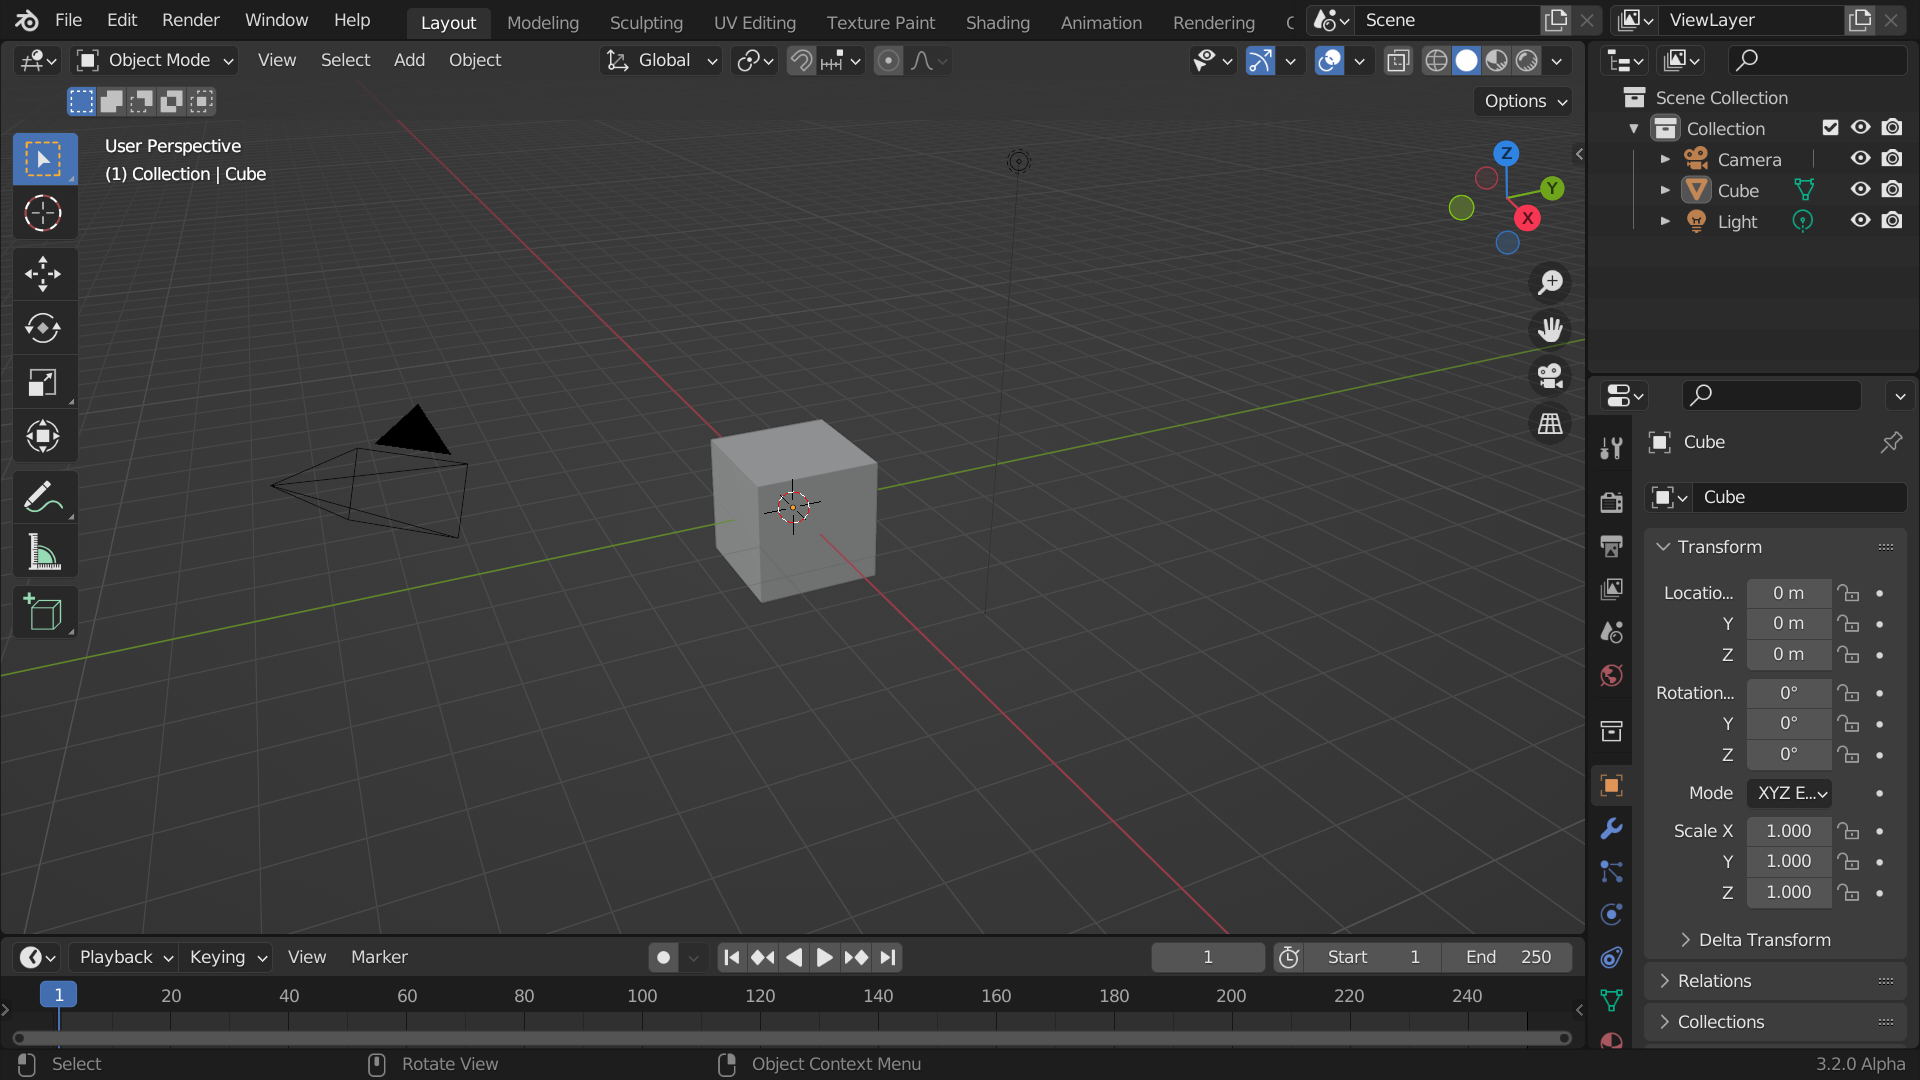
Blender’s interface is separated into three main parts:
The smallest organizational unit in the user interface is a panel. The panel header show the title of the panel. It is always visible. Some panels also include subpanels.
The navigation gizmo can be found in the top right of the editor. The four buttons (listed from top to bottom) do the following:
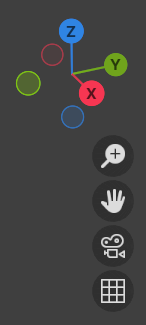
The Orbit gizmo at the top can be used to rotate around the 3D Viewport. Hovering over the gizmo and dragging with LMB will orbit the view. Clicking any of the axis labels will Align to that view. Clicking the same axis again switches to the opposite side of that same axis.
Rotate the view around the point of interest. Click and drag MMB on the viewport’s area. If you start in the middle of the area and move up and down or left and right, the view is rotated around the middle of the area.
Along the button in the navigation gizmo, you can zoom in and out the 3D Viewport using the keyboard and mouse, using Ctrl-MMB or the mousewheel. The
If you get lost in 3D space, which is not uncommon, two hotkeys will help you: Home changes the view so that you can see all objects (View ‣ Frame All), while Numpad Period zooms the view to the currently selected objects when in perspective mode (View ‣ Frame Selected).
Moves the view up, down, left and right. To pan the view, hold down Shift and drag MMB in the 3D Viewport.
Blender distinguishes between two different states of selection:
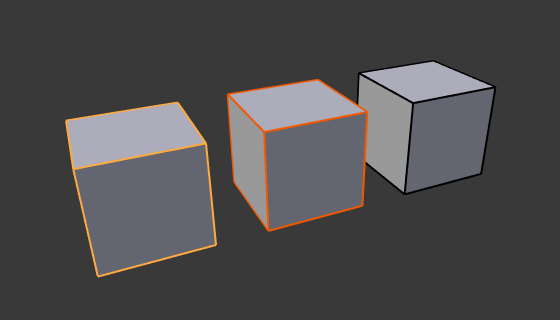
In Object Mode the last (de)selected item is called the “Active Object” and is outlined in yellow (the others are orange). There is at most one active object at any time.
Many actions in Blender use the active object as a reference (for example linking operations). If you already have a selection and need to make a different object the active one, simply reselect it with Shift-LMB.
All other selected objects are just selected. You can select any number of objects. In order to change a property or to perform an operation on all selected objects hold Alt, while confirming. To select all objects, press A
In Object Mode, the move option lets you move objects. Translation means changing the location of objects. It also lets you move any elements that make up the object within the 3D space of the active 3D Viewport.
Pressing G activates “Move” transformation mode. The selected object or element then moves freely according to the mouse pointer’s location and camera. To confirm the action, press LMB. While moving items, the amount of change along the X, Y, and Z axis is displayed in the header of the 3D Viewport.
You can also move objects using the move tool in the toolbar to the left of the 3D Viewport.
Rotation is also known as a spin, twist, orbit, pivot, revolve, or roll and involves changing the orientation of elements (vertices, edges, faces, objects, etc.) around one or more axes or the Pivot Point.
The angle of rotation is displayed in the header of the 3D Viewport.
You can start the rotation transformation mode by pressing R (or R R for trackball mode), or selecting the rotate tool from the toolbar.
Scaling means changing proportions of objects. Pressing S will enter the Scale transformation mode where the selected element is scaled inward or outward according to the mouse pointer’s location. The element’s scale will increase as the mouse pointer is moved away from the Pivot Point and decrease as the pointer is moved towards it. If the mouse pointer crosses from the original side of the Pivot Point to the opposite side, the scale will continue in the negative direction and flip the element.
![]()
Using the mouse for transformations is convenient, but if you require more precise control, you can also enter numeric values. After pressing the shortcut type a number to indicate the magnitude of the transformation. Then confirm or cancel. E.g. pressing S 2, Return (not all at once!) will double the scale of an object.
Examples:
To take a more in-depth look at the UI, watch the following embedded video, search for more videos on youtube, or view the Blender docs